Create a Blog with node js, express and react

Today we will be creating a blog with react, node js, and express.
PREREQUISITES
Knowledge of Node.js, express, react, JavaScript
LET'S GET STARTED
Create a frontend folder and backend folder, open your terminal, cd into the frontend folder, and run npx create-react-app my-app. If you haven't used react before here is a link to a free crash course. %[https://www.youtube.com/watch?v=b9eMGE7QtTk&t=101s]
create a react component in the src folder called Blog.js, and create a blog.css file.
// Blog.js
import React from 'react'
import './Blog.css'

function Blog() {
  return (
    // the blog's homepage will be created here
    <div>blog</div>
  )
}

export default Blog
Copy the file in the below link and paste it into the blog div.Paste in the div. paste the prewritten style below in the already created blog.css file. Paste in the css file
Open the App.js file and import Blog.js
import React from 'react'
import './Blog.css'
import './BlogFullPage.css'

function BlogFullPage() {
  return (
    <div class="dark">
        <div class="container">
            <img src="https://th.bing.com/th/id/R.fbec171d7d380d0d52ccb05a511627a5?rik=yQNiuVKoC0xJqg&pid=ImgRaw&r=0" alt="" />
            <div class="content">
                <h1>This is a blog post sha gfy hg</h1>
                <p>{'  '}Text</p>
            </div>
        </div>
    </div>
  )
}

export default BlogFullPage
Alright, the next step is to design the blog page that will render when an article is clicked. Create a react component in the src folder called BlogFullPage.js, and create a BlogFullPage.css file. Copy the file in the below link and paste it in the blog div. Blog full page link. paste the prewritten style below in the already created blog.css file. blog css file link
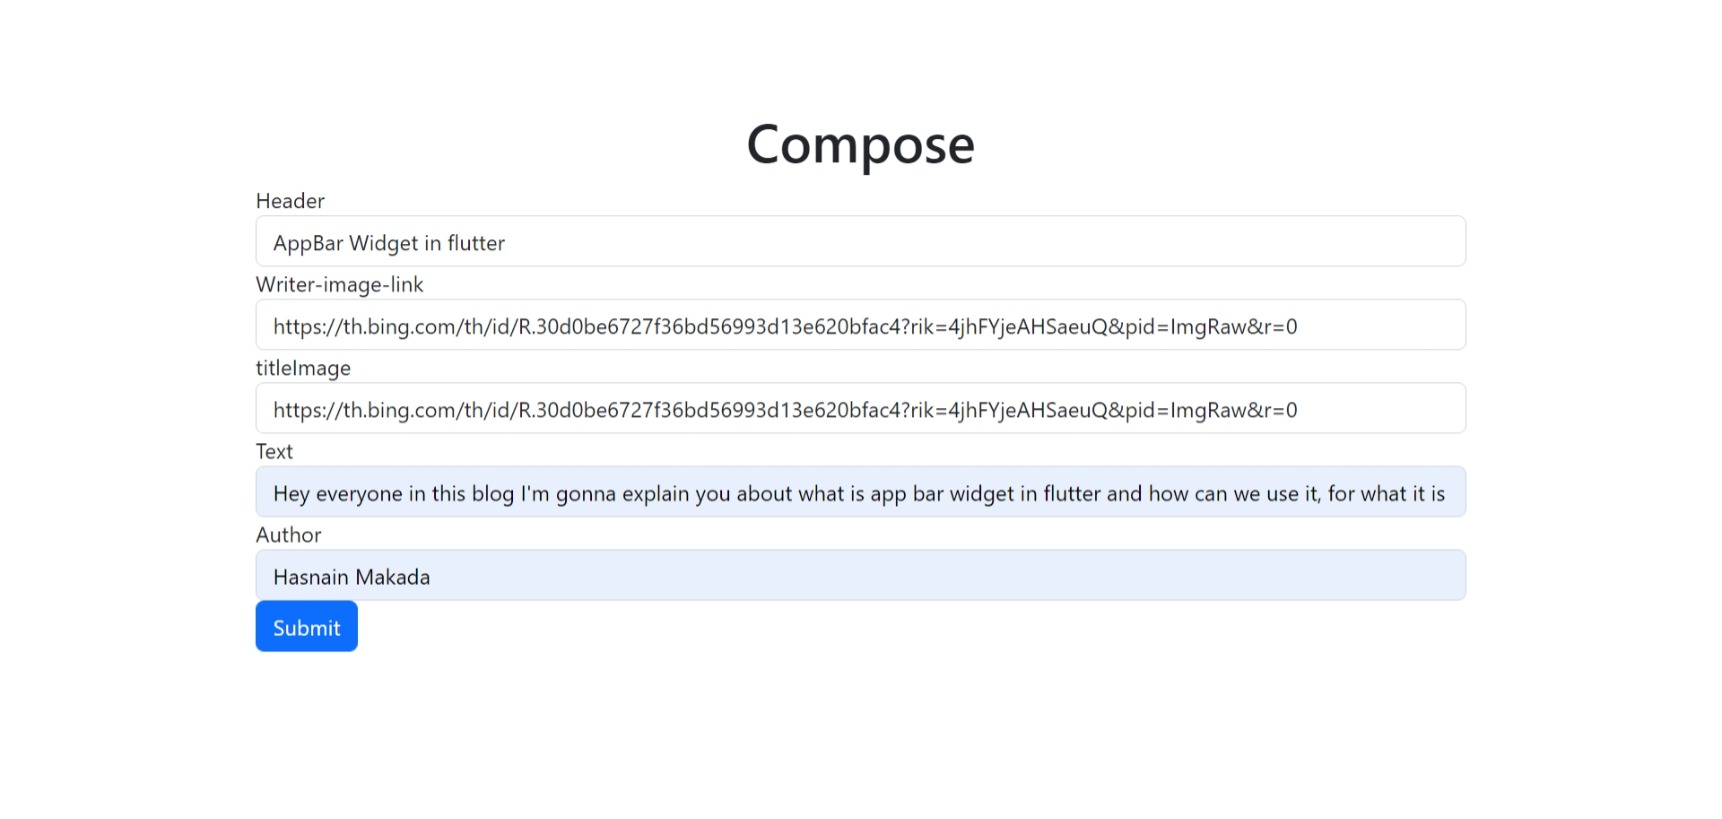
COMPOSE PAGE
We will need a page where we can compose an article and send it to the backend. Create a react component in the src folder called ComposePage.js, and create a ComposePage.css file. Copy the code in the link below and paste it into the ComposePage.js. compose.js file.
//paste in the ComposePage.css file
form{
    width: 90vw;
    max-width: 900px;
    margin: 0 auto;
}
Add the bootstrap cdn below to the html file in the public folder
// add to the header
<link href="https://cdn.jsdelivr.net/npm/bootstrap@5.2.0-beta1/dist/css/bootstrap.min.css" rel="stylesheet" integrity="sha384-0evHe/X+R7YkIZDRvuzKMRqM+OrBnVFBL6DOitfPri4tjfHxaWutUpFmBp4vmVor" crossorigin="anonymous">

//add to the body
<script src="https://cdn.jsdelivr.net/npm/bootstrap@5.2.0-beta1/dist/js/bootstrap.bundle.min.js" integrity="sha384-pprn3073KE6tl6bjs2QrFaJGz5/SUsLqktiwsUTF55Jfv3qYSDhgCecCxMW52nD2" crossorigin="anonymous"></script>
LINKING THE FRONTEND PAGES
Great, we are done with creating the frontend pages the next step is to route the frontend pages. To do this we use something called react-router. Open your terminal, cd into the frontend folder, and run this command to install react-router.
npm install react-router-dom@6
React router documentation. To use react router you need to wrap the whole app in something called a BrowserRouter and routes then define your route. Your app.js should return this
    <BrowserRouter>
    <Routes>
      <Route path="/" element={<Blog />} />
      <Route path="ComposePage" element={<ComposePage />} />
      <Route path="BlogFullPage" element={<BlogFullPage />} />
    </Routes>
    </BrowserRouter>
import the BrowserRouter, Route, Routes from "react-router-dom";
import { BrowserRouter, Route, Routes } from "react-router-dom";
CREATING A BACKEND SERVER
Create a new folder outside the frontend folder and call it backend. Create an index.js file, cd into the backend, and run npm init using your terminal.
//run these code in your terminal
npm init
npm install express
SENDING BLOG DATA TO THE BACKEND USING AXIOS
Cd into the frontend folder and run npm install Axios to install axios. Axios is a simple promise-based HTTP client for the browser and node.js. Axios provides a simple use of the library in a small package with a very extensible interface. In layman's terms, it is used to fetch data.
npm install axios
- USE STATE
Go the composePage.js, we need to collect the form data the user typed in, store it in an object and send the object to the backend, to achieve this we use a react hook called use state.
import React, { useState } from 'react'
import use-state from react
function ComposePage() {
  const [header, setHeader] = useState('')
  const [image, setImage] = useState('')
  const [text, settext] = useState('')
  const [author, authorName] = useState('')
-----------------------------
in the ComposePage function we destructure the useState hook.
<input type="text" value={header} onChange={(e) => setHeader(e.target.value)} className="form-control" id="Header" aria-describedby="Header" placeholder="Header"/>
using an onChange function, and setHeader function we will set the the value typed on the form to be stored in the header variable gotten from the use state hook. Repeat this for the image, text and author variable. Your header, image, text and author variable are now equal to whatever you typed.
<input type="text" value={image}  onChange={(e) => setImage(e.target.value)} className="form-control" id="Image-link" placeholder="Image-link"/>

<input type="text" value={text}  onChange={(e) => settext(e.target.value)} className="form-control" id="exampleInputPassword1" placeholder="Text"/>

<input type="text" value={author}  onChange={(e) => authorName(e.target.value)} className="form-control" id="exampleInputPassword1" placeholder="Text"/>
-CREATING AN OBJECT
  const blogObject = {
    key: header,
    headerKey: header,
    imagekey: image,
    textkey: text,
    authorkey: author
  }
The ComposePage function store the form data in an object.
-SENDING IT TO THE BACKEND
As stated earlier we will be using axios to send the form data to the backend.
  async function blogData(e) {
    e.preventDefault()
    try {
      await axios.post('http://localhost:4000/blog_data', {
        blogObject
      })
    } catch(err){
      console.log(err)
    }
  }
create an async function that uses a try-catch to post data to the backend. The axios. post method takes two arguments, the first is the URL to which we will be posting our blog object, and the second is whatever you want to be posted.
RECIEVING DATA IN THE BACKEND
Recall, that we created a backend folder and an index.js file. Open your index.js file, open the terminal and cd into the backend folder and run npm install cors.
npm install cors
npm install nodemon
CORS stands for Cross-Origin Resource Sharing. It is a middleware that will help us send data to our frontend file.
nodemon index.js
With nodemon we would not need to restart the server anytime we reload the page, run nodemon index.js in the terminal to run the server.
const express = require("express")
const app = express()
const cors = require('cors')
const allBlogs = []
We will use the require function to include the external node modules we imported. Make an array called all blogs, this is where our blog data will be stored.
app.use(express.urlencoded({ extended: true }))
app.use(express.json())
app.use(cors())
The express.urlencoded() function is a built-in middleware function in Express. It parses incoming requests with URL-encoded payloads and is based on body-parser. express. JSON() is a method inbuilt in express to recognize the incoming Request Object as a JSON Object.
app.listen(4000, () => console.log('working'))
Create a server that listens on port 4000. We are using port 4000 because the post request from the frontend is at localhost:4000/blog_data.
app.get('/', cors(), async (req, res) => {
    res.send('working')
})

app.post('/blog_data', async (req, res) => {
    let {blogObject} = req.body
    allBlogs.push(blogObject)
    console.log(blogObject)

})
using the app. post we can get the data from the frontend. The /blog_data route is used because this is the route we posted the blog object to. Destructure the blog object from the req. body(request. body) and add to the all blogs array. We have successfully received blog object data.
SENDING DATA IN THE BACKEND TO THE FRONTEND
The next step is to send all the blog articles created to the frontend.
app.get('/post_name', cors(), async (req, res) => {
    res.send(allBlogs)
})
using the get function we will send all blog data to whatever path we want('/post_name').
-RECIEVING BACKEND DATA
import React, { useEffect, useState } from 'react'
import axios from 'axios';
To receive the backend data in Blog.js we will use a use effect hook and use the use state hook to store the data collected.
let [blog, blogData] = useState([])
  useEffect(() => {
    axios.get('http://localhost:4000/post_name').then(function(response) {
      let allblogs = response.data
      blogData(allblogs)

    })

  }, [])
Using the axios get the method we can fetch all blog data from the backend and store it in the blog variable. The blog variable contains an array of all the data sent to the backend.
MAPPING THROUGH BLOG VARIABLE
The next step is to create a post to be rendered in the frontend of every blog written.
POST.JS
import React from "react";
import { Link } from "react-router-dom";

function Post({title, writersimage, name, titleImage, slug, date}) {
    return (
        <Link to={`BlogFullPage/${slug}`} style={{textDecoration: 'none'}}>
        <div className="post">
                <img src={titleImage} alt="bx" />
                 <div className="postData">
                     <h3>{title}</h3>
                    <div className="postWriter">
                         <span className="postWriter">
                             <img src={writersimage} alt='ghgf' />
                             <span>{name}</span>
                         </span>
                     <span>{date}</span>
                 </div>
             </div>
           </div>
        </Link>
    )
}
export default Post;
Create a Post.js file in the source folder and wrap what we are returning in a link tag imported from react-router. It enables us to go to the Blogfullpage.js when it is clicked. If you look you will notice that the page is routing to BlogFullPage/${slug} and not BlogFullPage, more on that later.
import Post from './Post';
Import the post function and use a high order function called nap to loop through each blog article in the array and create a post for each
{blog.map(x => <Post key={x.headerKey} title={x.headerKey} writersimage={x.imagekey} titleImage={x.titleImage} slug={x.slug} name={x.authorkey} date={x.date}/>)}
SETTING THE BLOG FULL PAGE ROUTING
When the post is clicked you will notice that it dose not display the full page of the particular blog that you clicked. How can we acheive this? we will use something called useParams. This allows us to route to a particular blog article.
<Route path='BlogFullPage/:slug' element={<BlogFullPage />} />
In the app.js file change the route path of blog fullpage to this.
import axios from 'axios'
import React, { useEffect, useState } from 'react'
import { useParams } from 'react-router-dom'
In the blog fullpage file import axios, use effect, use state hooks & use params from react router dom.
  const params = useParams()
  const {slug} = params
  let [blog, blogData] = useState([])
  useEffect(() => {
    axios.get('http://localhost:4000/post_name').then(function(response) {
      let allblogs = response.data
      blogData(allblogs)

    })

  }, [])

  const particularBlog = blog.find(x => slug === x.slug)
The slug is set to the header name of the blog, import all blog data from the backend & use the find method to find the blog object that has the same slug object as the URL slug.
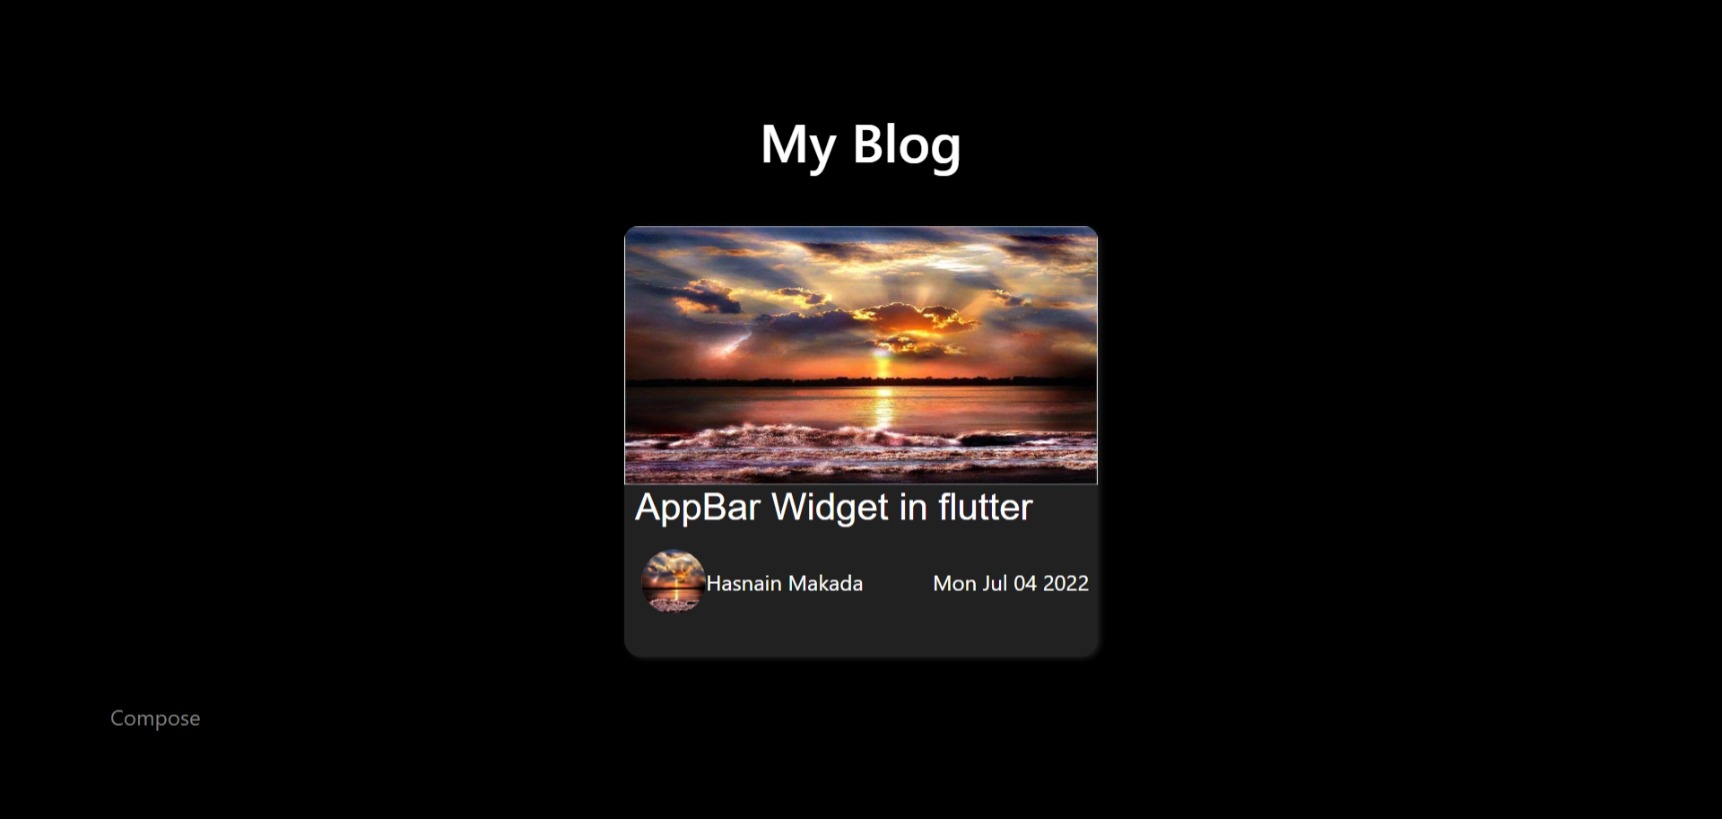
TESTING EVERYTHING
Let's test everything, run the frontend and start the backend server. Go to the compose page and fill the Header, Image-link, Image-link, text, Author, and click on submit button. Head over to the main page and reload the page, you should see your first blog article.